What is freeBSD?
FreeBSD is an open-source Unix-like operating system descended from the Berkeley Software Distribution (BSD), which was a version of Unix developed at the University of California, Berkeley. It is known for its advanced networking, security features, and compatibility with other Unix-like systems.
FreeBSD is widely used in various applications, including servers, desktops, and embedded systems. It provides a robust and stable platform, particularly favored for server environments due to its performance, security, and reliability.
Installing the base
First we need to download the latest iso from www.freebsd.org You can choose between different architectures and versions depending on your hardware and requirements.
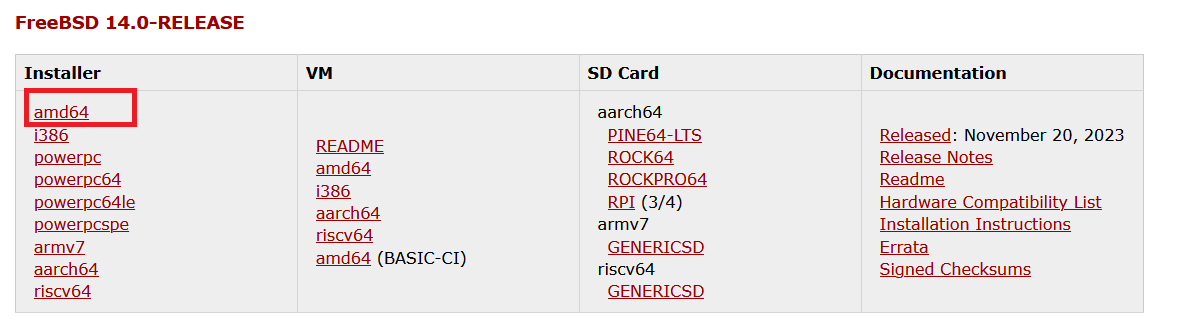
In my case i'm gonna install the 64 bit version of freeBSD.
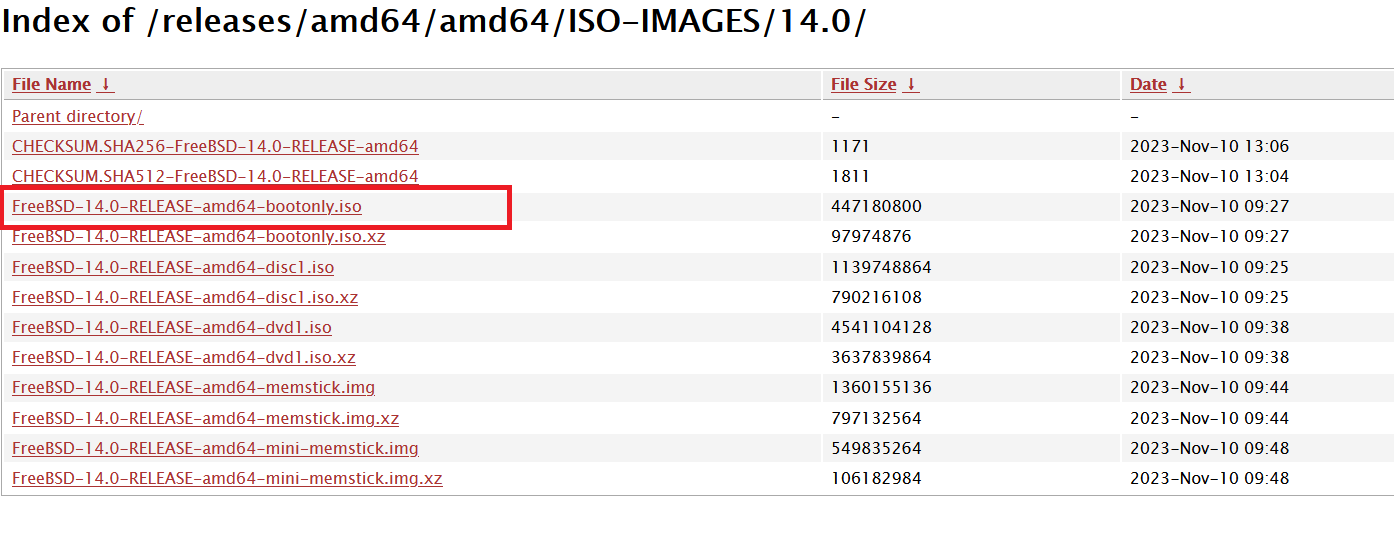
Once the download is complete, create an installation media. You can burn the ISO file to a DVD or create a bootable USB drive using tools like Rufus (for Windows) or dd (for Unix-like systems).
Insert the installation media into your computer and boot from it. You may need to change the boot order in your BIOS settings to prioritize the installation media.
In my case I will use a Virtual machine (VirtualBox) to load the iso , so the the first steps are going to be different for me , but once we boot to FreeBSD installer menu after this point everything else is pretty much the same.
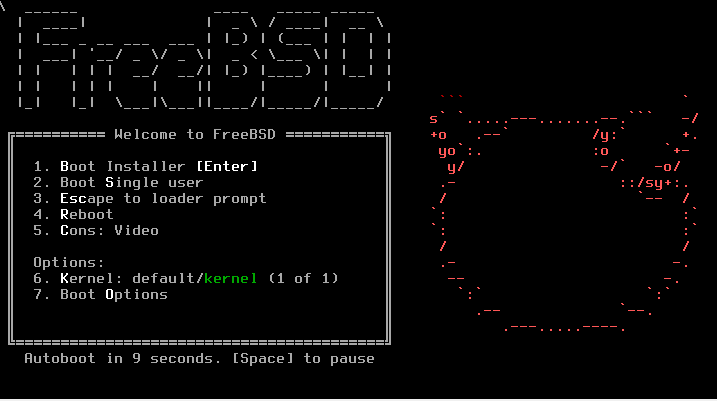
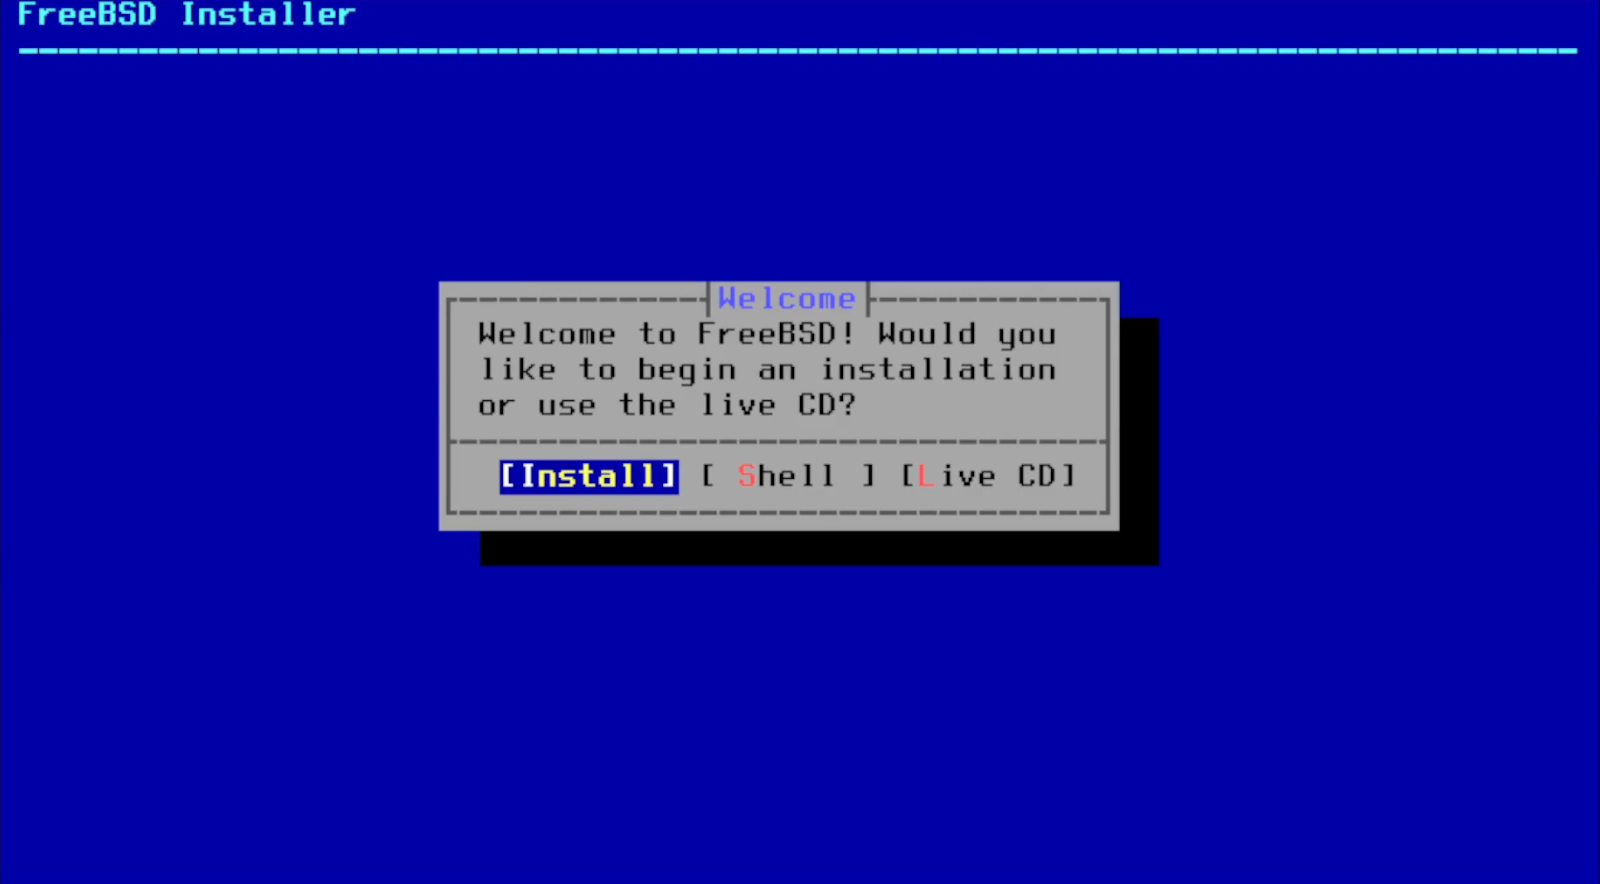
first it will ask you to begin the installation hit enter
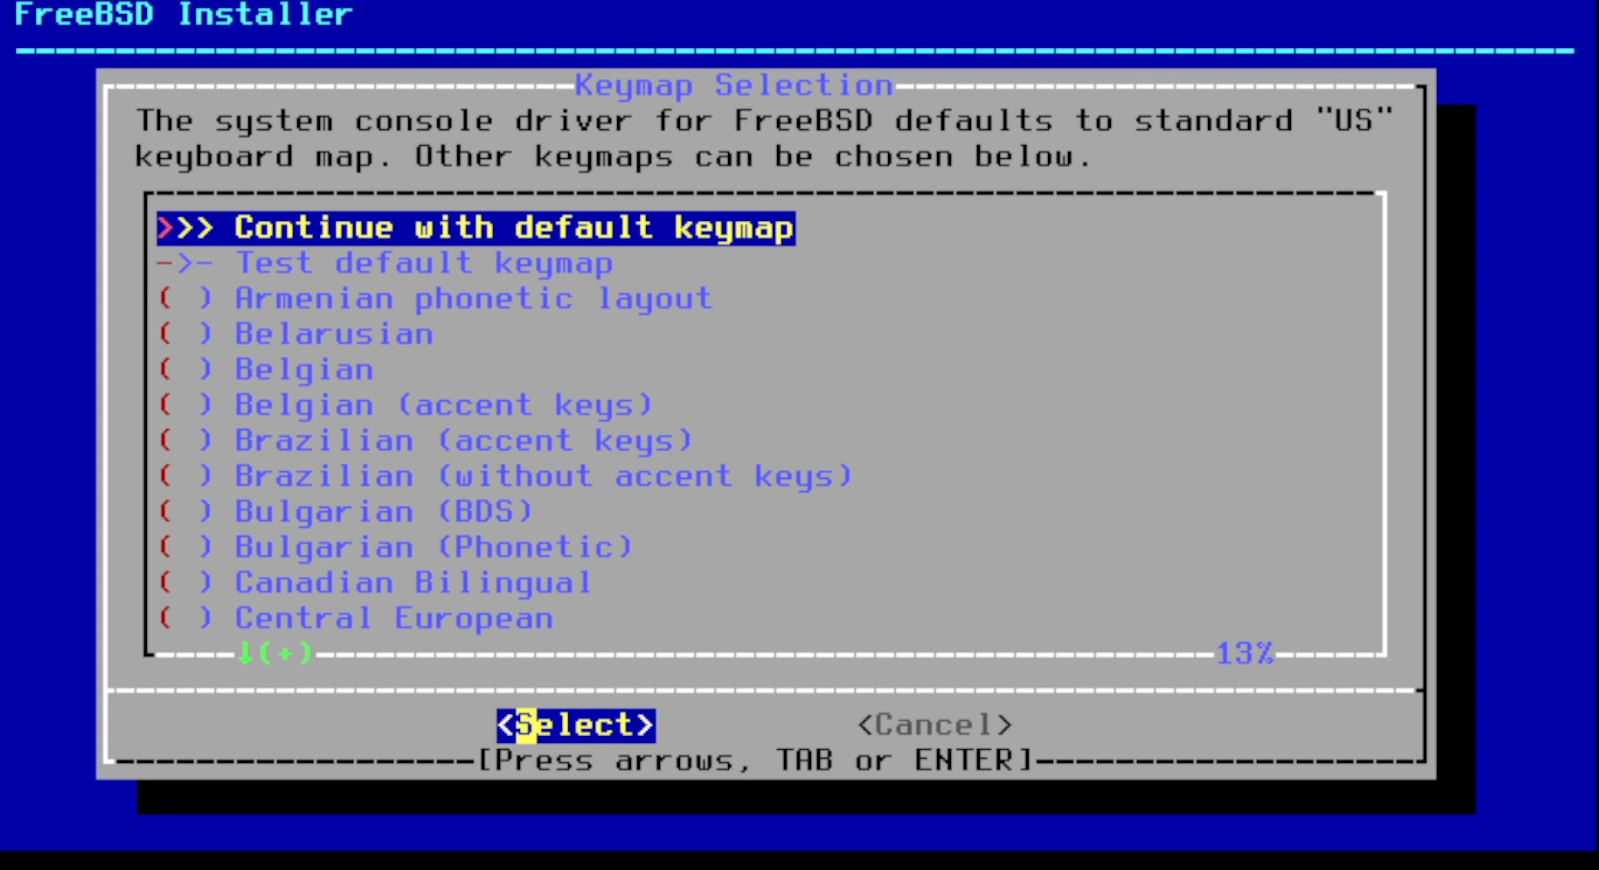
then it will ask you to select keymap , i will select the default and hit enter
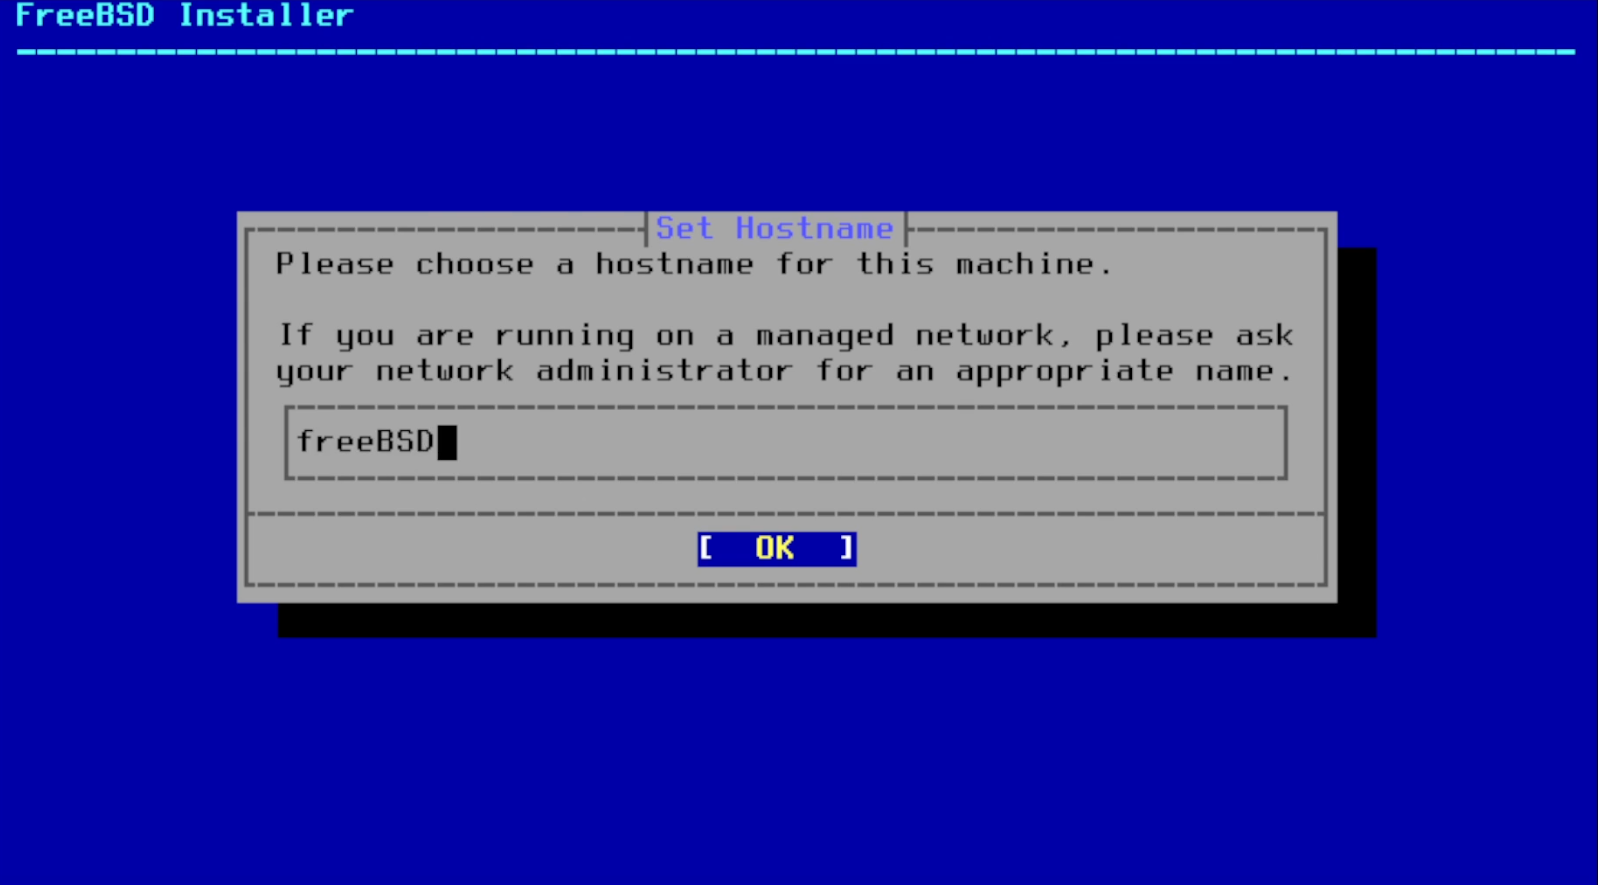
Then it will ask you to give it a hostname , A hostname is a label assigned to a device on a network, facilitating its identification and communication within that network, but in my case im just gonna name it freeBSD.
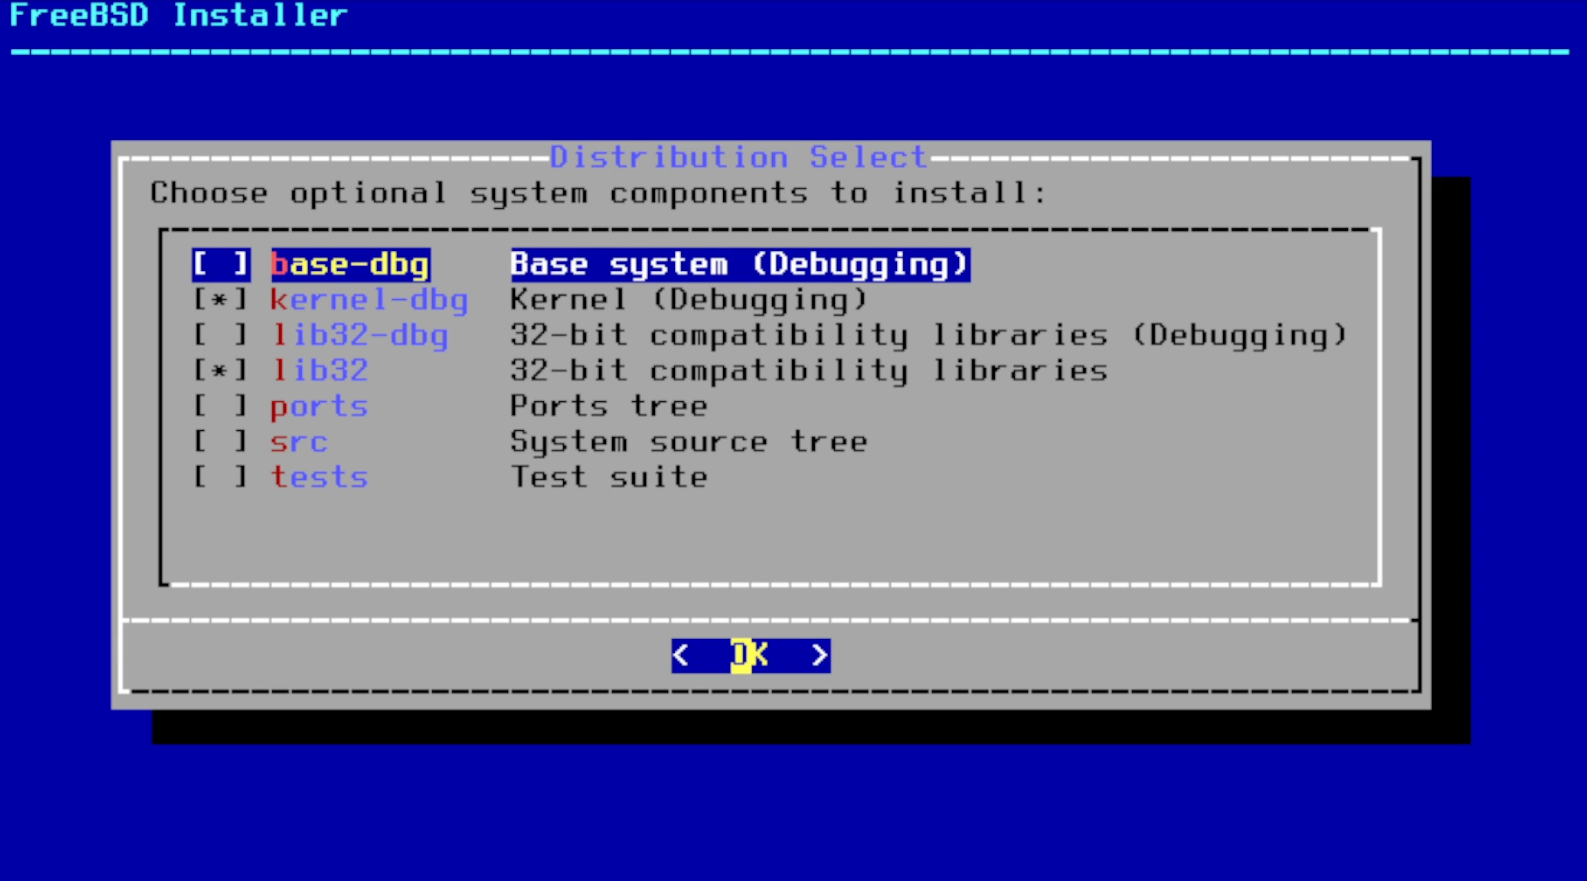
after that it will ask you to select and install the system components, you can navigate with the arrow keys hit space to select and when you are done hit enter, i'm going to use the defaults.
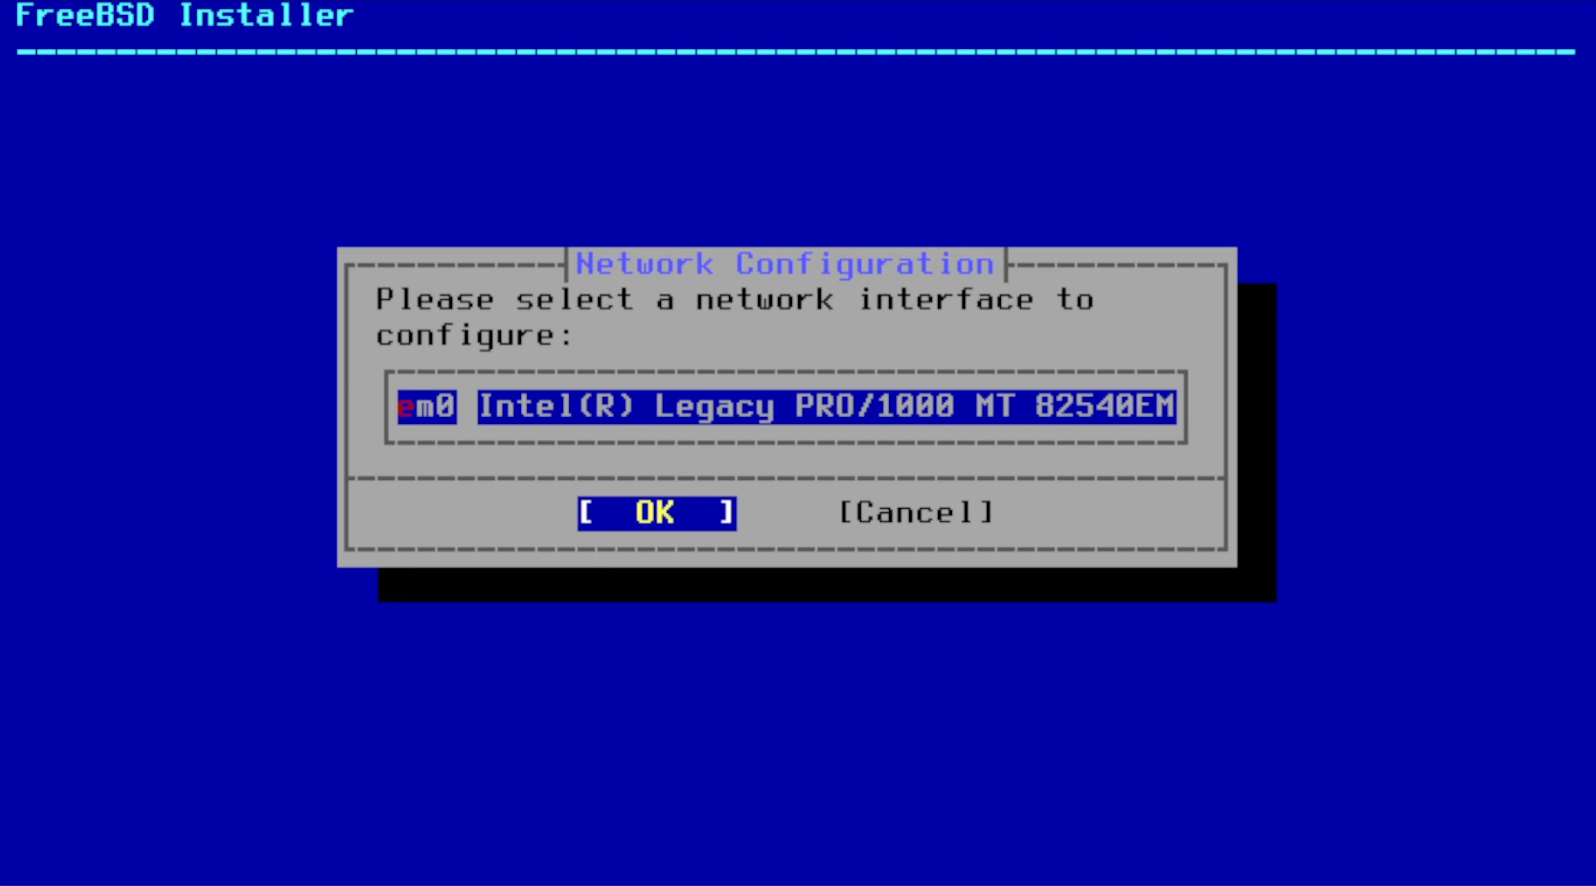
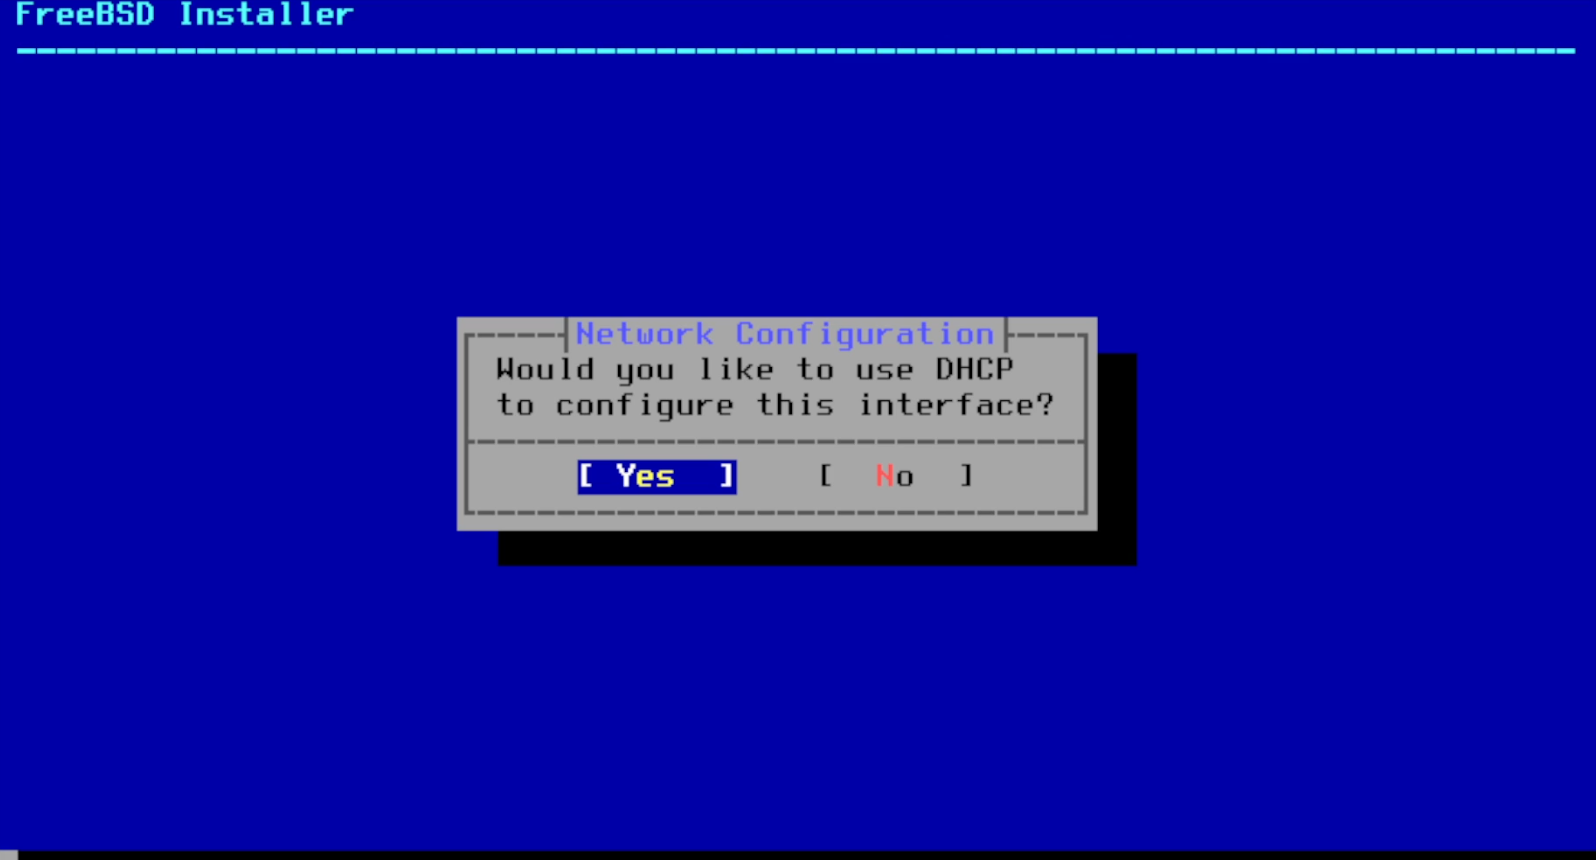
It then will ask you to configure your network and select an interface and if you want to configure IPv4 select "yes" to all.
after that it will ask you if you want to use DHCP, DHCP is a network management protocol that dynamically assigns IP addresses and other network configuration settings to devices on a network, select "yes".
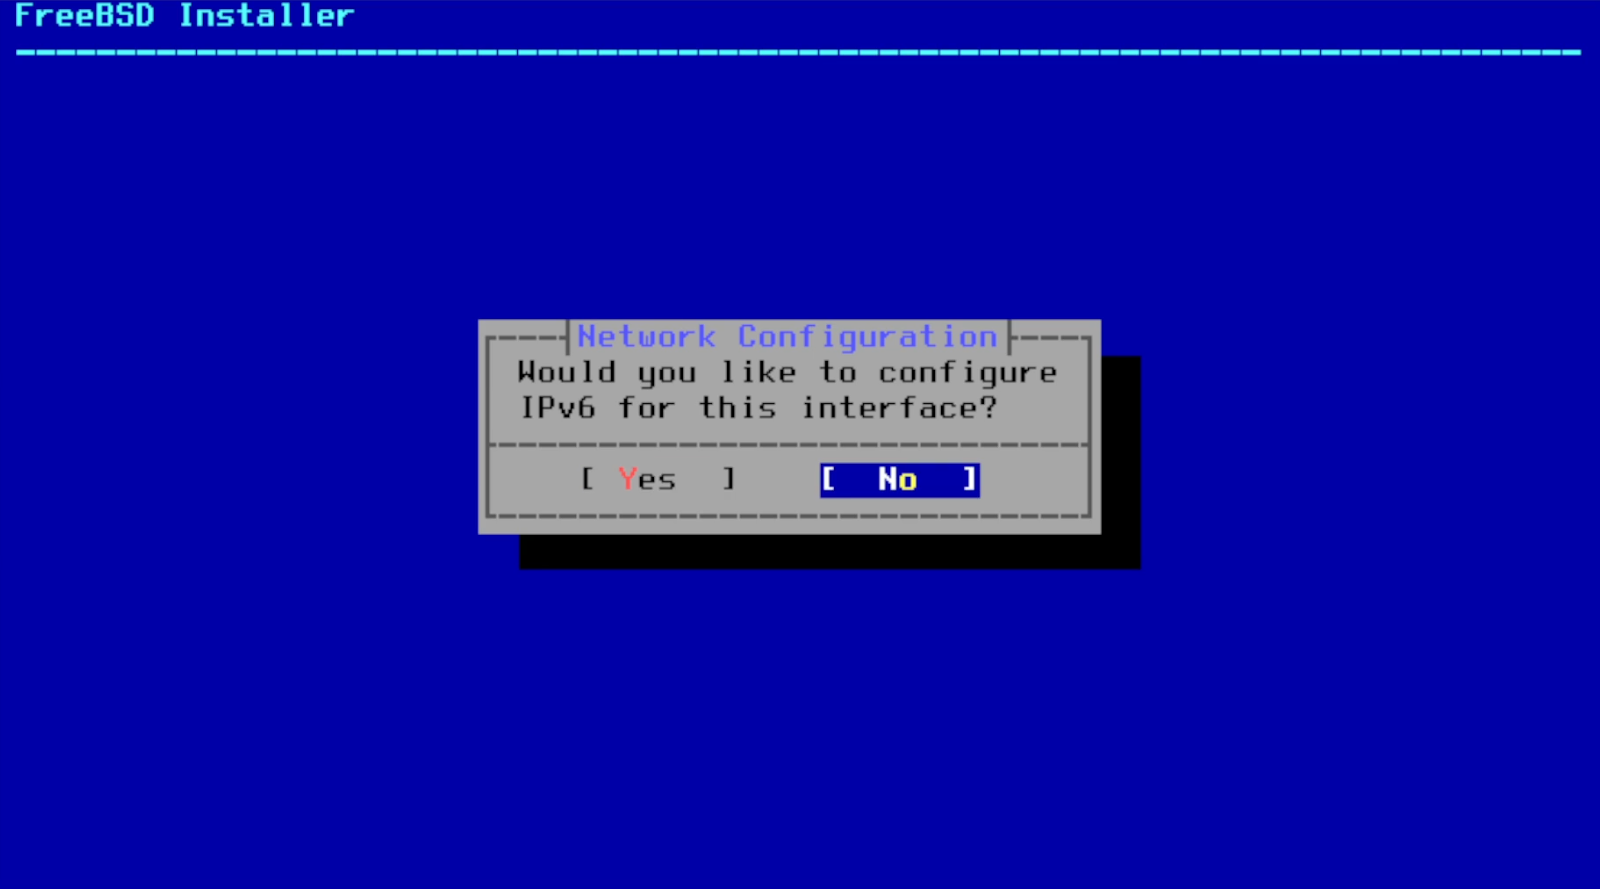
It will ask you to configure IPv6 , in my case im just gonna select "no".
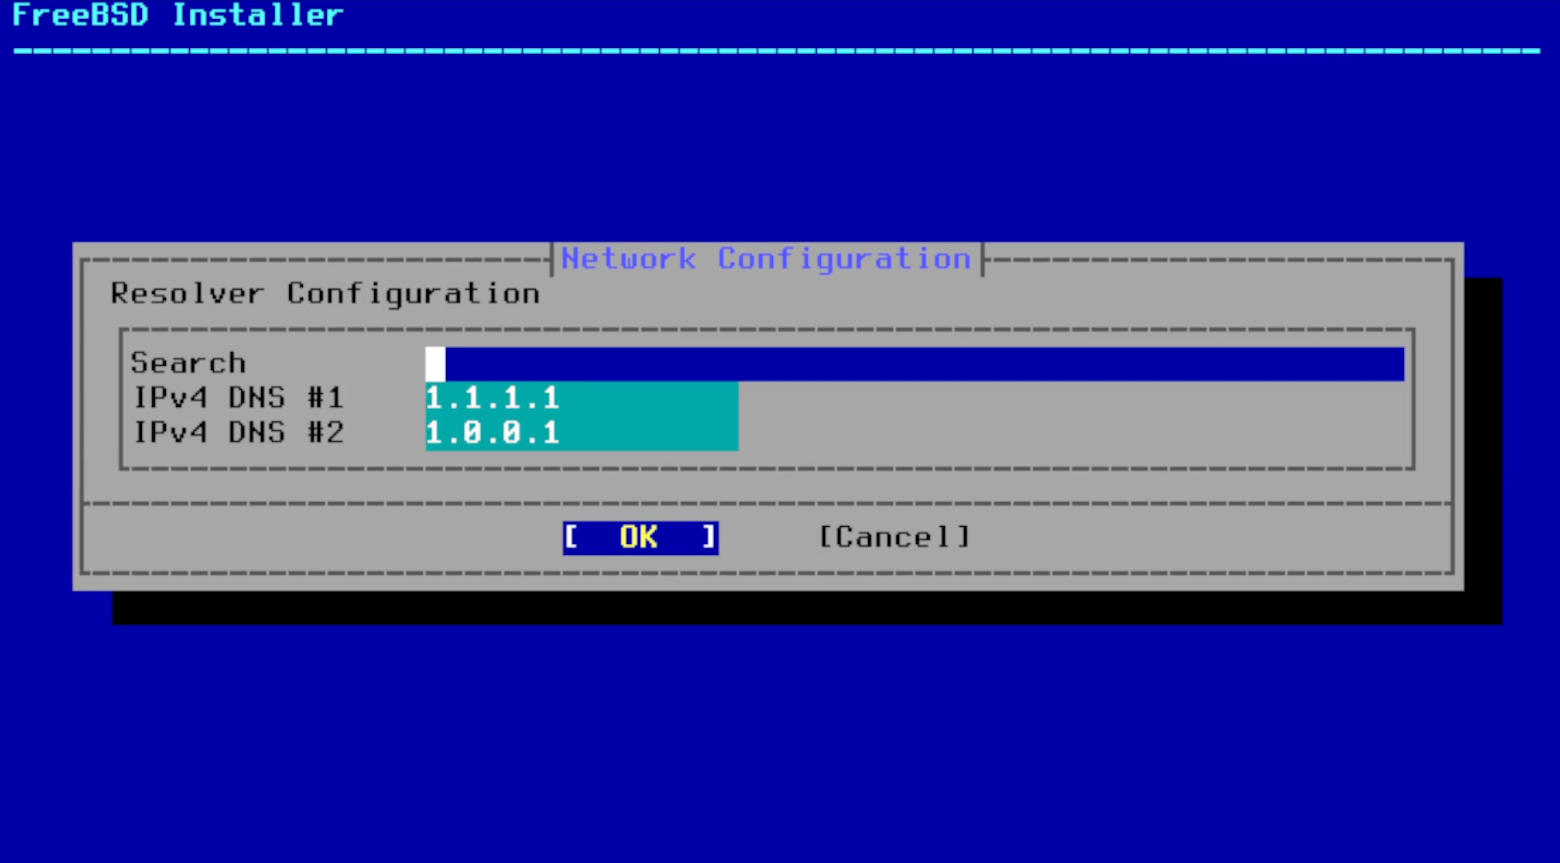
it then will ask you to check your DNS settings, they should automatically be configure with DHCP.
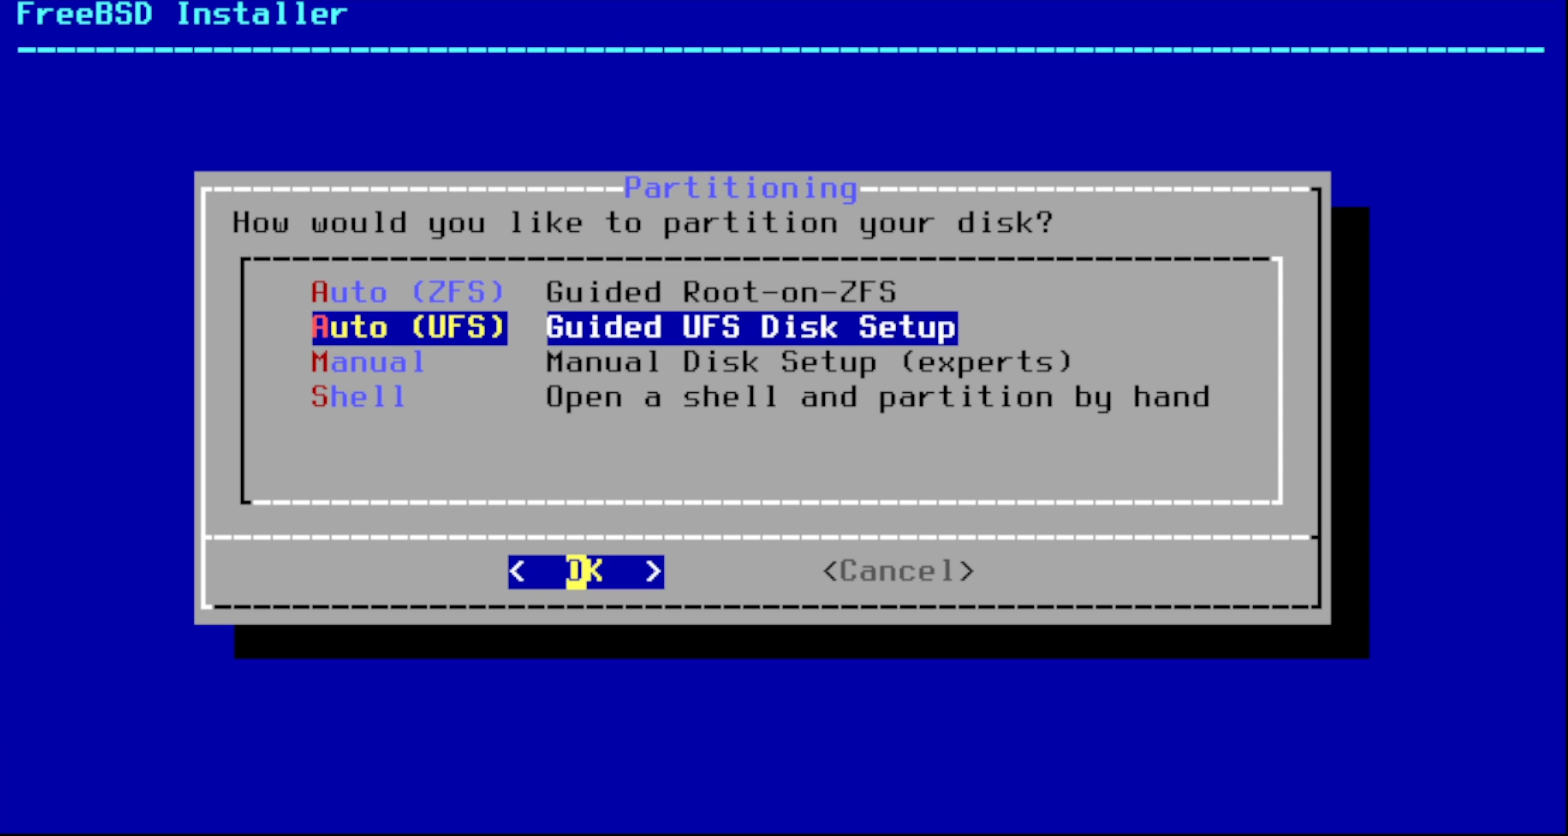
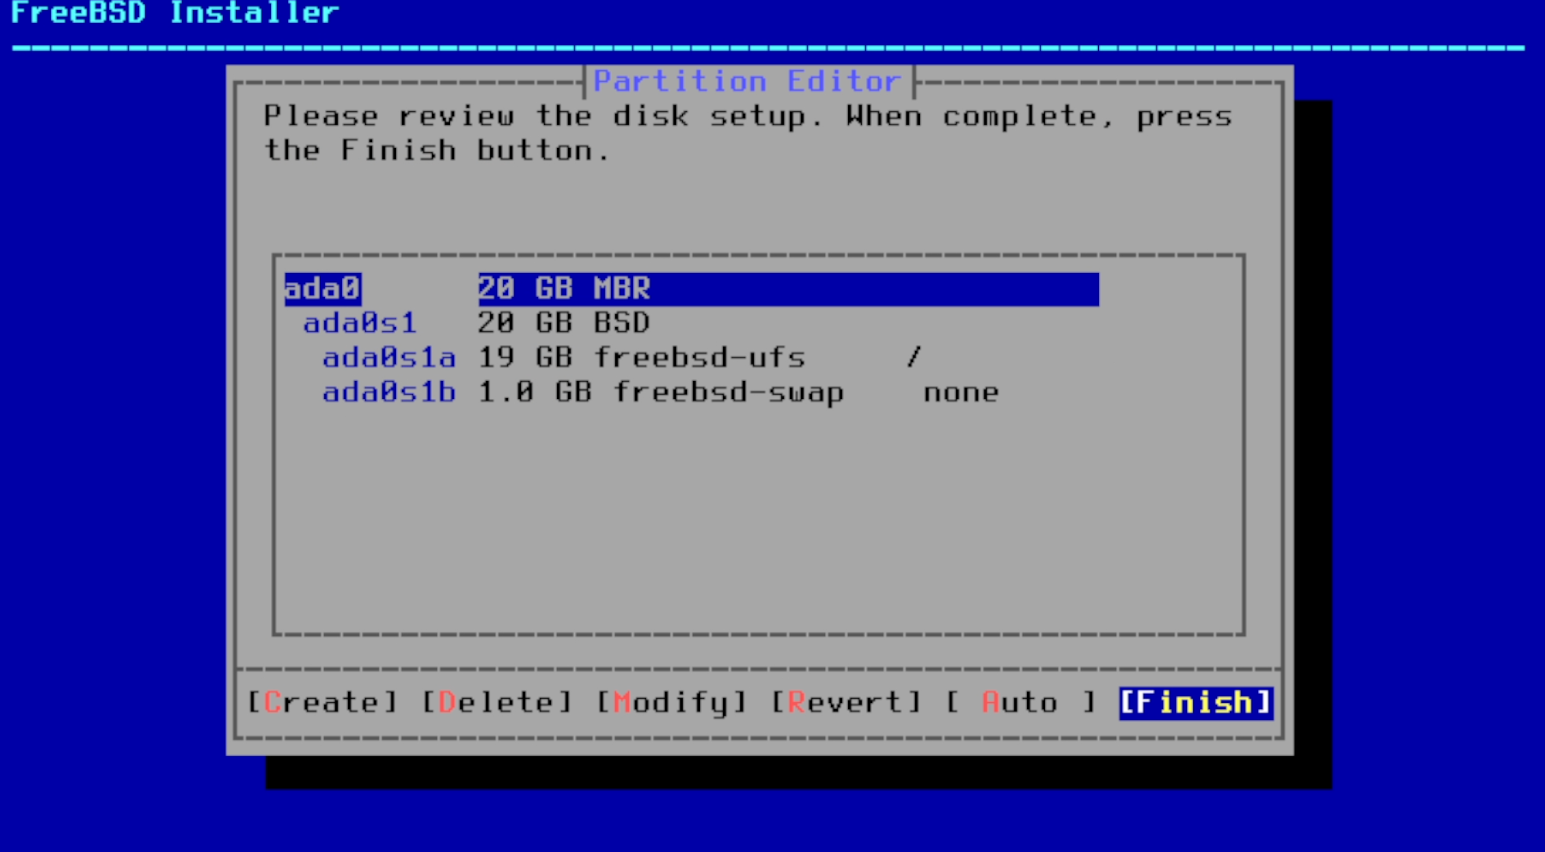
Partitioning: The installer will prompt you to partition your disk with ZFS or UFS. You can choose to use the entire disk or manually partition it according to your needs, i'm going to select UFS in this case for a simple desktop setup, ZFS is commonly used in file servers, network-attached storage (NAS) appliances, and high-performance computing clusters due to its robustness, scalability, and advanced data management capabilities.
Here's my review of the disk setup.
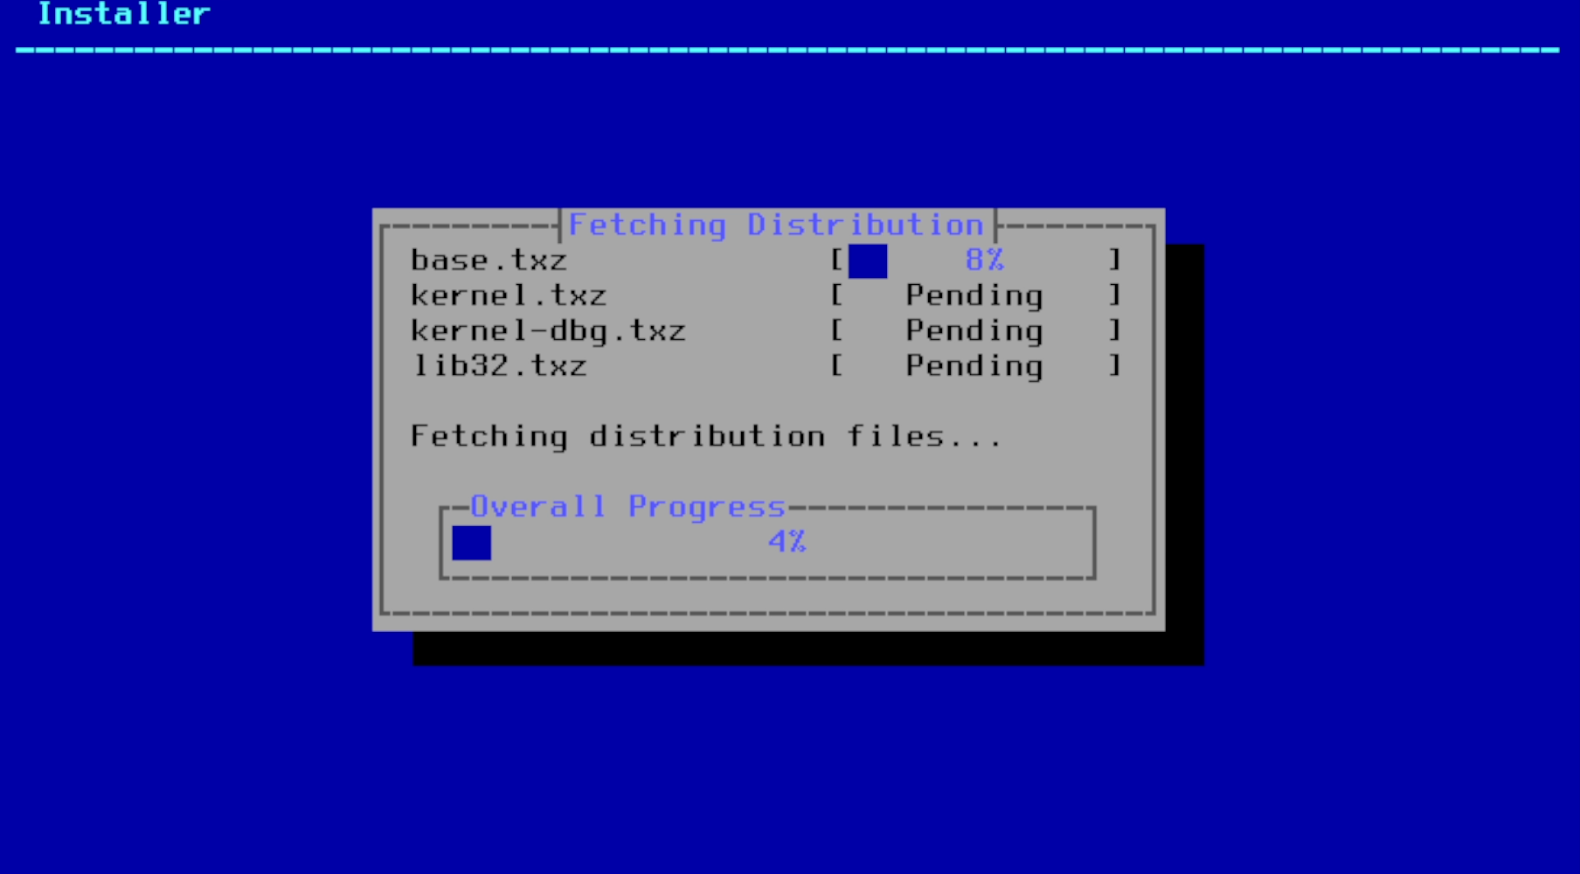
Then it will ask you to select a mirror to download the packages, i'm gonna choose the default and let it do its thing.
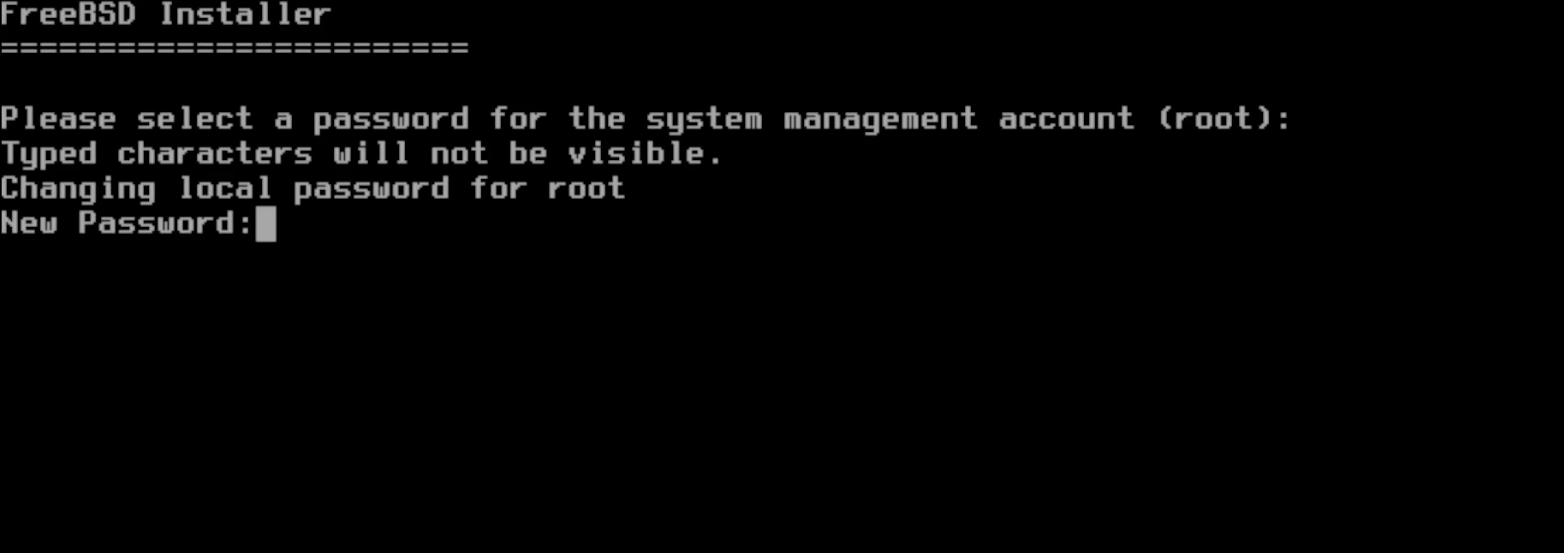
Then it will ask you to set up a root password.
to choose your time zone and date and time.

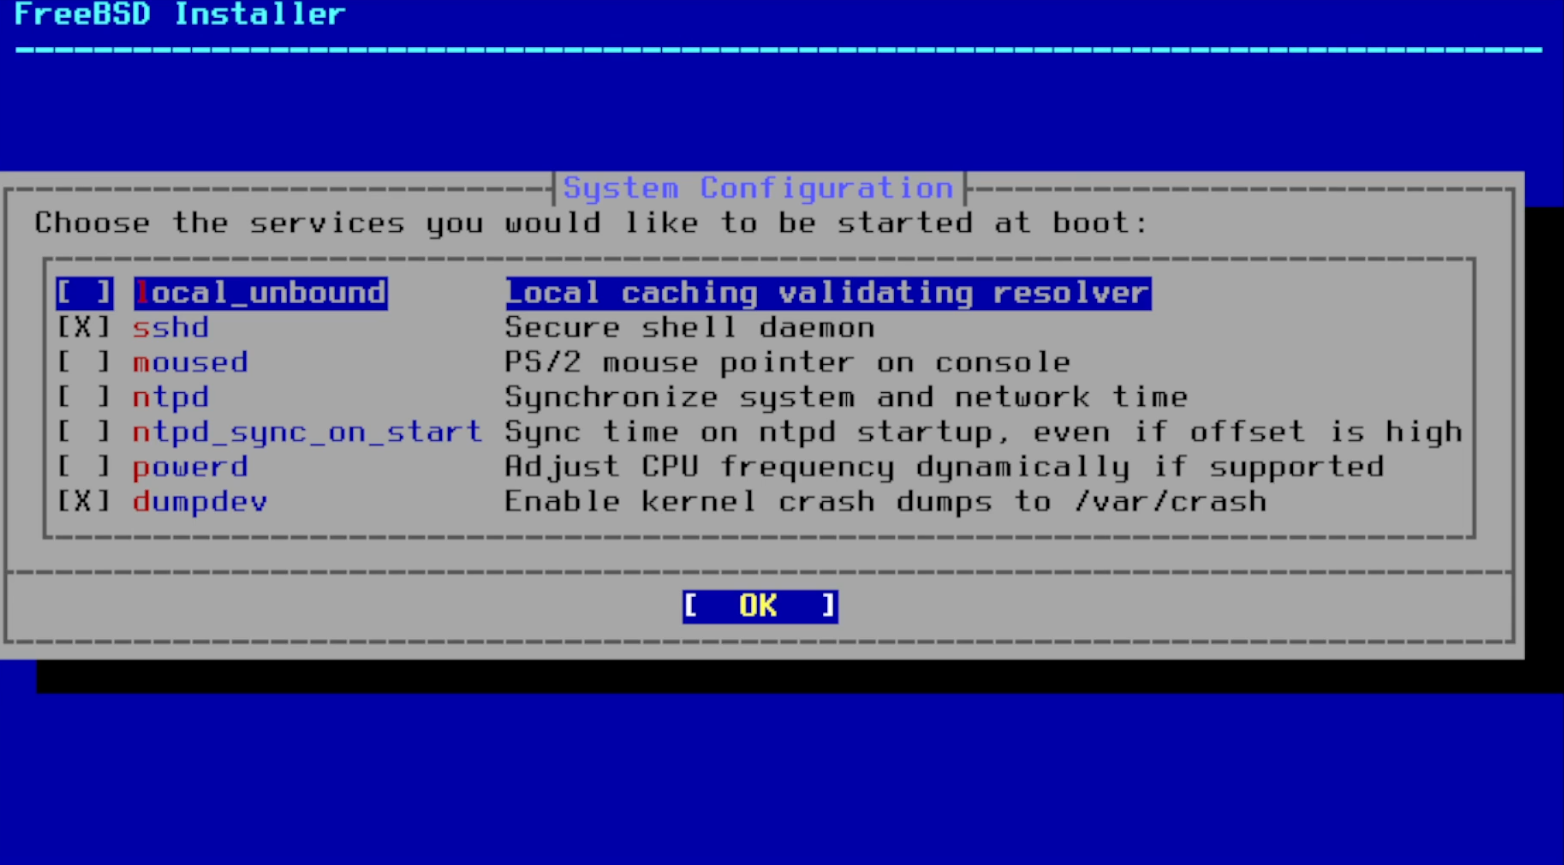
after that it will ask you what services you want to start at startup, i'm gonna use the defaults, you may have to disable sshd if you don't plan to connect remotely to your computer.
If you want you can enable some hardening features, in my case i'm gonna leave it as it is.
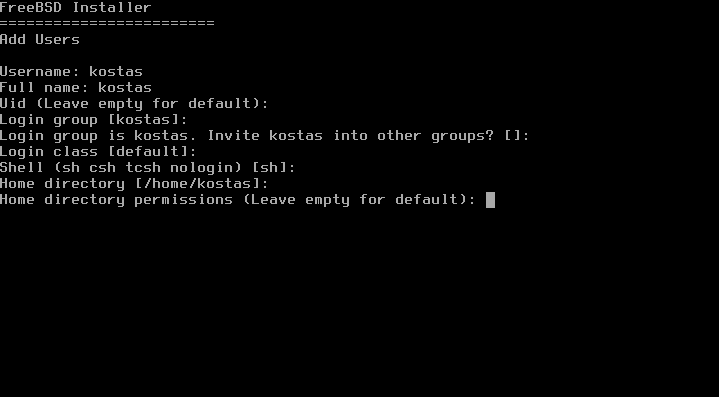
Then you can add your user that you are going to log in with.
if you don't want to change anything else, you can select exit, it then will ask you if you want to do any manual configurations, select "no".
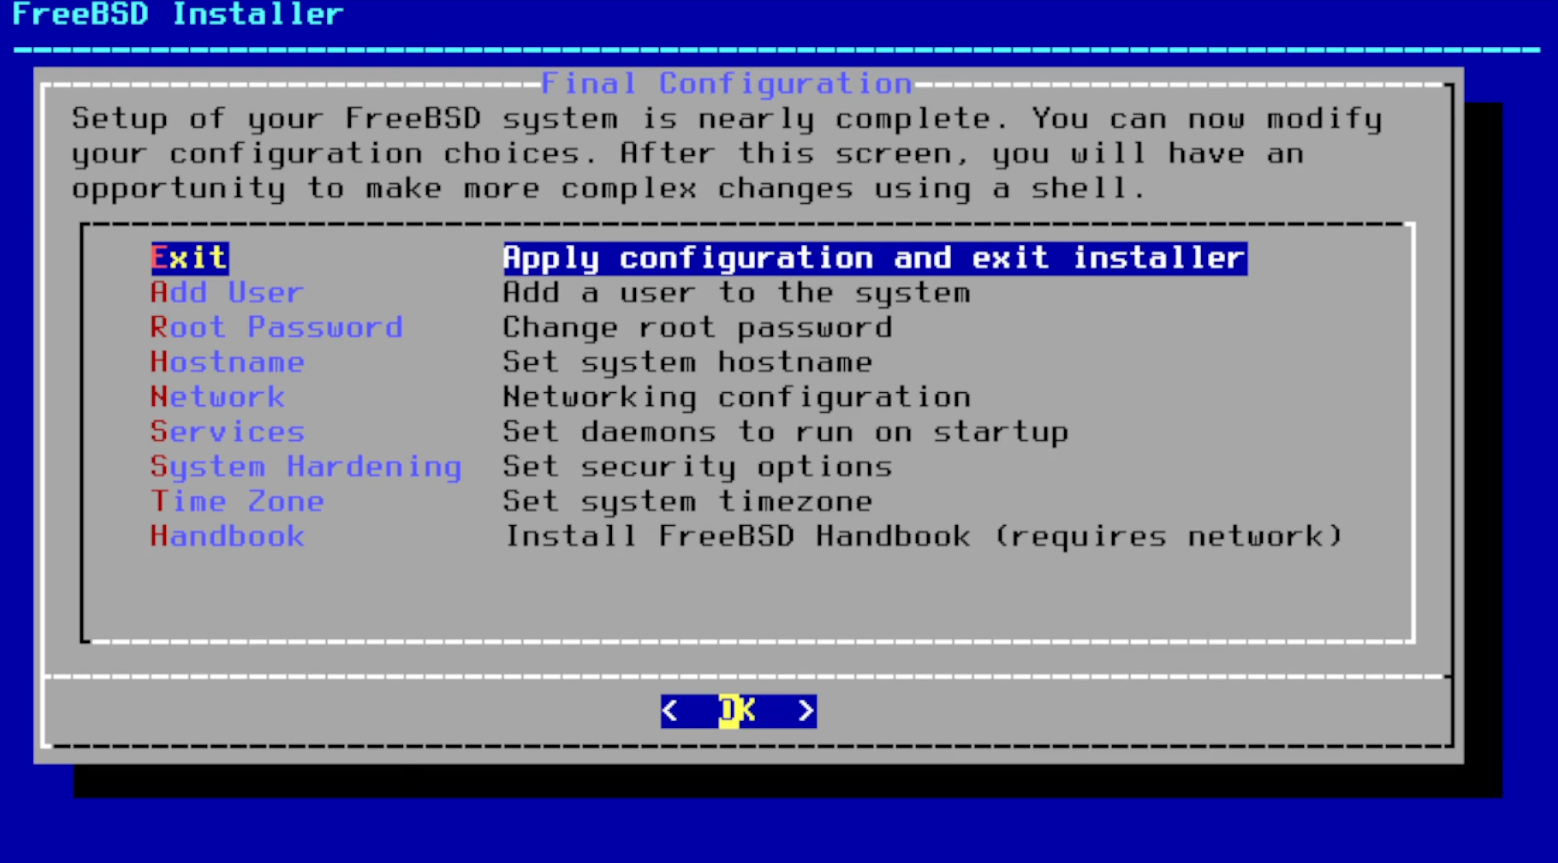
Now we are done, we can remove the installation media and reboot to freeBSD.

After the installation
After we boot to freeBSD we want to login as root to install and set up sudo for our user.

First we need to update the package repository index to ensure that the system has the latest information about available packages.
run the following:
pkg update
you may get the following message , choose "y" and install pkg, it would also update the repositories.

Now we can install sudo , sudo is a command-line utility that allows users to execute commands with the privileges of another user, typically the root user.
pkg install sudo
we can edit the sudoers file with:
visudo
we can now edit the sudoers file , it will open up the default text editor vi , press "x" to delete the tag character to uncomment the line which contains the wheel group.

we can now save and exit with :wq
now we need to add our user to the wheel group, in my case my user is kostas replace this part with your own user.
pw groupmod wheel -m kostas
we can now exit (with the exit command) and login as our user.

after that we can try:
sudo pkg update
Install the Vim text editor with:
sudo pkg install vim
We can also install Htop, Htop is an interactive process viewer and system monitor tool.
sudo pkg install htop
Installing xfce
XFCE is a lightweight desktop environment for Unix-like operating systems. It's designed to be fast, efficient, and user-friendly while consuming minimal system resources.
First we need to maintain the system fully patched. so we need to download the FreeBSD Security Patches and then install it with the following command.
sudo freebsd-update fetch
We can install them with:
sudo freebsd-update install
Before we can install xfce we need to install Xorg, Xorg is the software responsible for managing graphical display, input devices, and user interfaces on Unix-like operating systems, enabling users to interact with their computers through graphical interfaces.
sudo pkg install -y xorg
Now it is time for us to install xfce, we can do this with the command below:
sudo pkg install xfce
After the installation is finished, we can configure the rc.conf file. We can use vim to edit it.
sudo vim /etc/rc.conf
We can Add the below lines to that text file.

Then you need to make a new file named .xinitrc on your home directory
vim .xinitrc
and add this single line of code and save with :wq
It will also be nice to have a login manager, a great choice for that will be LightDM.
sudo pkg install lightdm lightdm-gtk-greeter
and to start it automatically at boot time.
sudo sysrc lightdm_enable="YES"
We can now reboot the system
sudo reboot
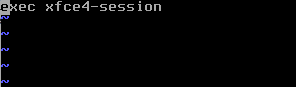
Now we can login to xfce
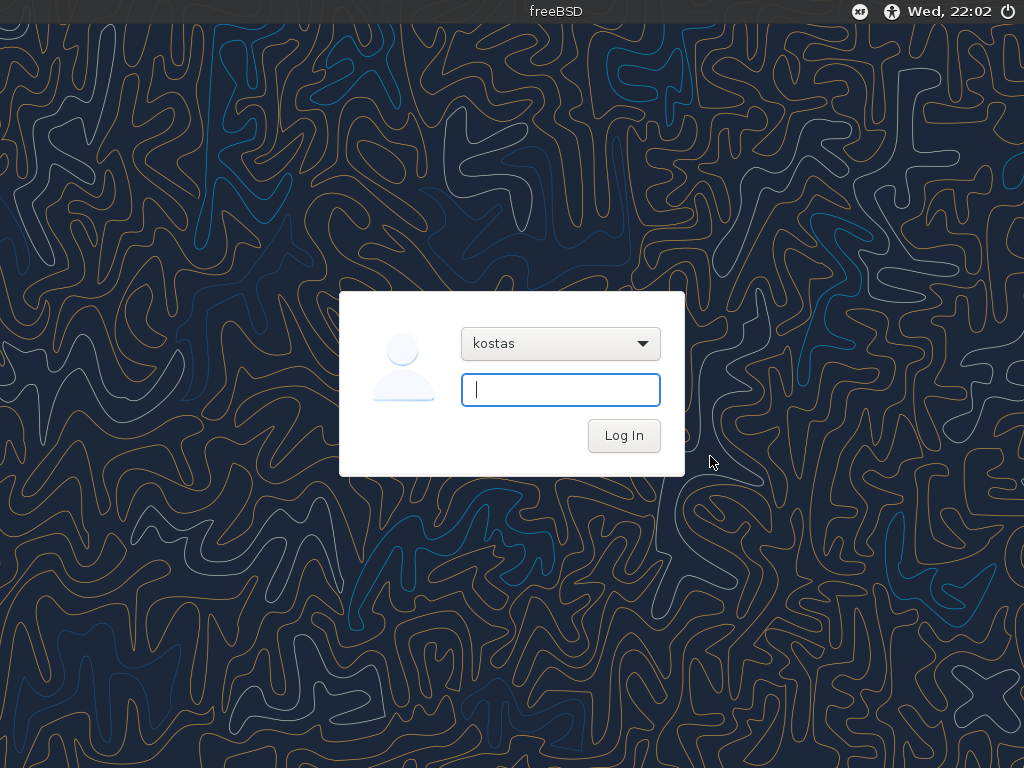
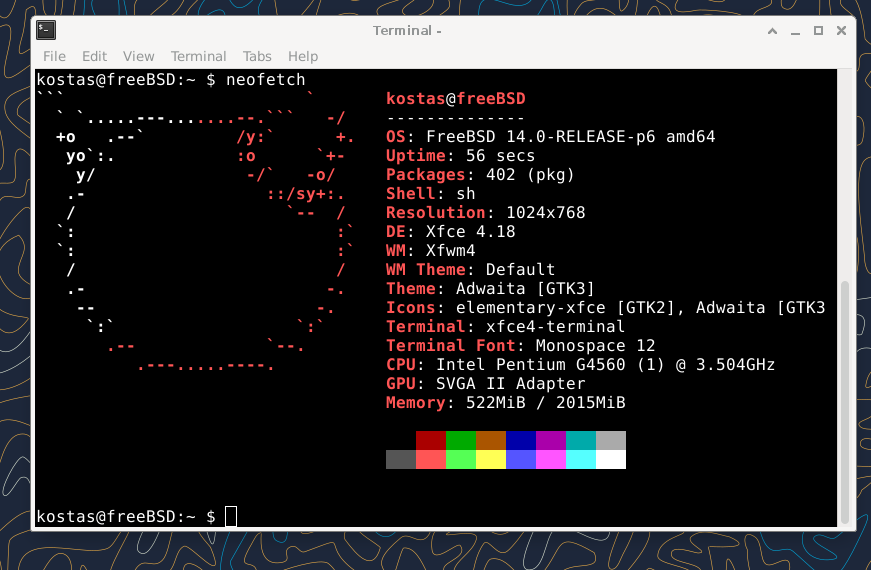
If everything worked , you should see the xfce desktop.
You can also install a cool tool like neofetch to display system information in the terminal.
sudo pkg install neofetch
open a terminal with Ctrl+Alt+T and run it
Install drivers and Virtualbox Guest Additions
If you want to install graphics drivers on physical hardware you should visit the FreeBSD Handbook Chapter 5 but since i'm using a virtual machine, im just gonna install Virtualbox Guest Additions.
sudo pkg install emulators/virtualbox-ose-additions
after installing Virtualbox Guest Additions go and edit the rc.conf file.
sudo vim /etc/rc.conf
and add the lines below:

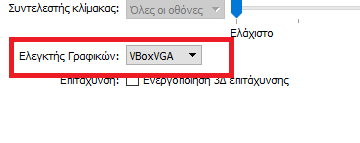
poweroff your machine and go and change the display Graphics Controller settings on virtualbox to VBoxVGA.
That's it, you can now use your FreeBSD with xfce install new software or tinker with it even more.
It's that all ?
Of course not, you can do many things with freeBSD you can use it to run servers, use it as a daily desktop, develop software, and learn the depths of your operating system, if you want to learn more go check freeBSD Handbook.